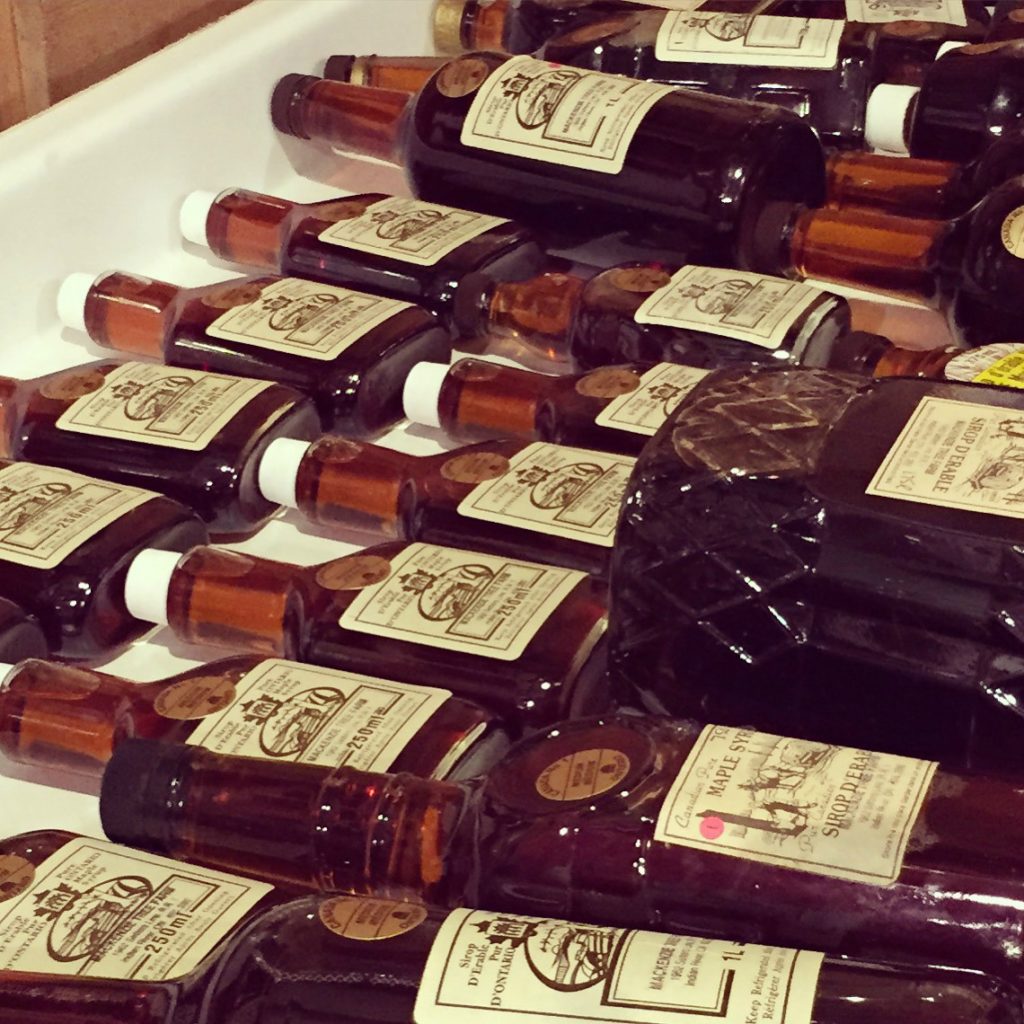
Even though day 1 of spring is officially tomorrow, we had a prelude to a spring a couple of weeks ago and as a consequence we have already made 101 litres of maple syrup. I know. That’s a lot of pancakes. But apparently we need more, so I’m heading out shortly to check the lines and collect sap. Before I do that though, I’ll give you a bit of an overview of the operation – purely hobby, by the way, so some of my methods / tools may be a bit questionable to a pro. (And if you work for the CFIA, stop reading this now, because I only sell syrup to friends and family. Thanks very much. Goodbye.)
We (ok, my brother) tapped in mid February this year. It’s a bit of a risky move, because your tapped holes can dry up if there is a long freeze in between runs. We He went for it. He’d collect and boil in the day, I’d come home from work and finish the boil. We’d try to do finishes together, but it didn’t always work out. (Of course, in the March break, when I had LOTS of time to boil and finish, it didn’t run.)
Let me take you through the process with the help of some photos I’ve taken over the years.
When we’re ready to tap the lines they are already hanging from the trees since we leave them up year round. There is usually some damage to the lines – the deer sometimes like a nibble – so fixing the lines is often necessary.

Tapping takes a day or two – we tap about 300 trees … and several trees have more than one tap. Most taps are connected to tubing (various colours). We do have 20 or so buckets that we use around the house where I don’t want to hang tubing. I can also ask visitors to collect sap from the buckets. It keeps them happy.


The tubing runs downhill and into jerry cans that collect the sap. These were a brilliant choice by my dad as the tubing fits perfectly into the vent hole.

We collect the sap by exchanging the full cans with empty ones. They conveniently fit in the back of the gator. Clever, eh?


The sap is then transferred into big stainless steel containers. We have about 400 gallons of storage space.

Once we have enough sap to boil, we light up the fire in the sugar shack and feed the sap down through handy pipes.

The procedure in the sugar shack is pretty basic. Boil the hell out of the sap until all that’s left is syrup, then filter it and bottle it. The machinery is pretty spectacular though!

The slow work is feeding the fire, skimming the foam, checking the levels and collecting more sap. As it boils down we pull small batches into the finishing pan which sits beside the evaporator pans. Once we have enough to finish (around 26 litres), we light up the propane under finishing pan and prepare to do a “finish”.


This final part is the art of it all. The syrup is boiled in the finishing pan until a certain temperature is reached. This stage of the work involves beautiful caramel bubbles, measuring the Brix (sugar content) with the hydrotherm and taking it off at just the right time. The syrup is poured through its final set of filters as it goes into the bottling pan.


If you boil the syrup too long and the sugar content is just too high, the syrup will crystallize. Even though it’s pretty and can be used to teach Grade 4 kids in their rocks & minerals unit, it’s a waste of syrup and very disheartening. I’ve become better at finishing now, so I haven’t had crystals in a few years.

Making maple syrup is a LONG process. Fun fact: it takes 40 litres of sap to make 1 litre of maple syrup. That’s why it’s a labour of love, and why I’ll smack you if I ever see you leaving maple syrup on your plate.