Went over to my neighbour’s a week ago for a visit – caught up on how things are going with them since the big fire. Stalwart family, so they’re all “chin up” and “no worries”. Hamish was out at the farm puttering away in the woodshop that was spared from the flames AND the nasty smoke (the house has to be gutted and rebuilt from the studs up due to the wretched stench). As we walked through the shop I asked him if he’d find me a piece of wood with a ‘live edge’ and plane it for me… you know, about yay long for a bookshelf that I’d like to add to the bedroom. Sure, no problem! And just like that, the first project of the New Year was born!
I had already bought 2 wrought iron brackets a year or so ago after I’d done a thorough search of Pinterest’s DIY shelf ideas. Many of the shelving configurations that I liked were a combination of rustic wood and iron. Here’s the one I settled on, thinking it would be important to incorporate my mom’s antique trunk which sits against that wall:

I like the wood to iron ratio, but not having a source for the iron rails, I started looking for wrought iron brackets that were promising. I found one pair and set them aside … oh about a year ago… and they sat in the same spot by the trunk until shortly after I walked over and talked to Hamish last week.
With the promise of a long piece of rustic wood for the bottom shelf, I decided to get the first brackets up. I was thinking that the long shelf will be low, and then I can put another one up and off to the side a bit … and maybe another one directly above it. I don’t know. Anyway, put up the brackets without TOO MUCH swearing…and they are ALMOST LEVEL…! (I have now determined that my metre stick is warped, so that’s going to be my excuse if things roll off of it.)
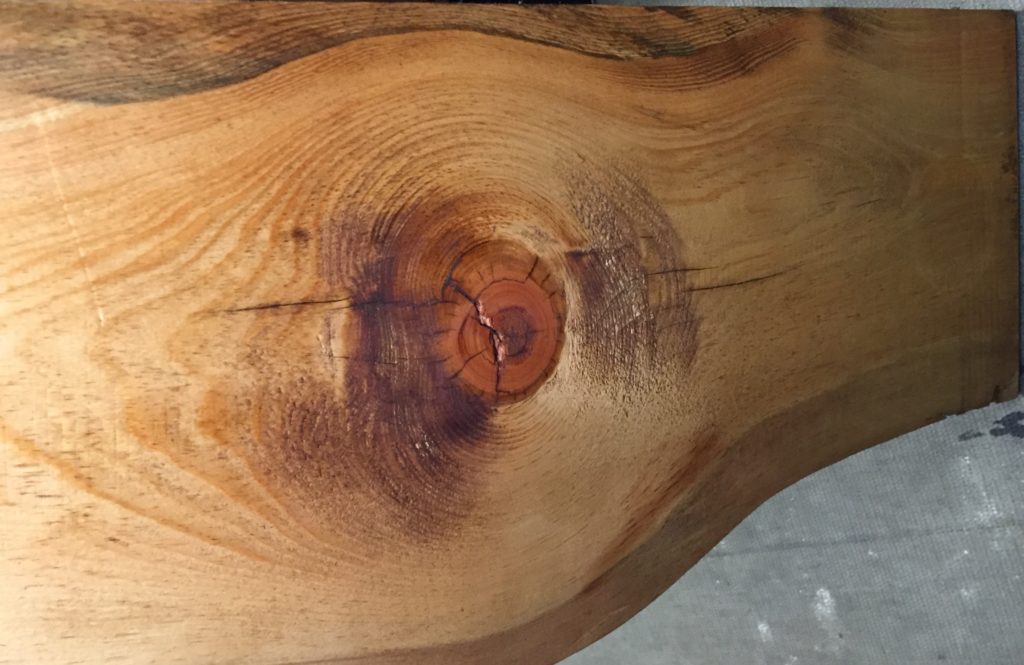
 Picked up the piece of wood from Hamish a few days after my initial inquiry – it’s a beauty!! Nice and thick and organic. The brackets seem to hold it …
Like how I entered the brackets cleverly on either side of the trunk? I know. So clever.


After I applied a bit of stain to the top edge (that Hamish so lovingly planed to a smooth finish), I wondered if I might like the flip side better, so I stained it too. WOAH!! So nice! How to decide which side will be up? I still have to apply some polyurethane and do some sanding between coats, but the staining is a start!

So that’s stage 1, sans polyurethane. Pretty decent start, I figure! I used that photo to make a sketch of what I want the rest to look like … what do you think? Suggestions?
